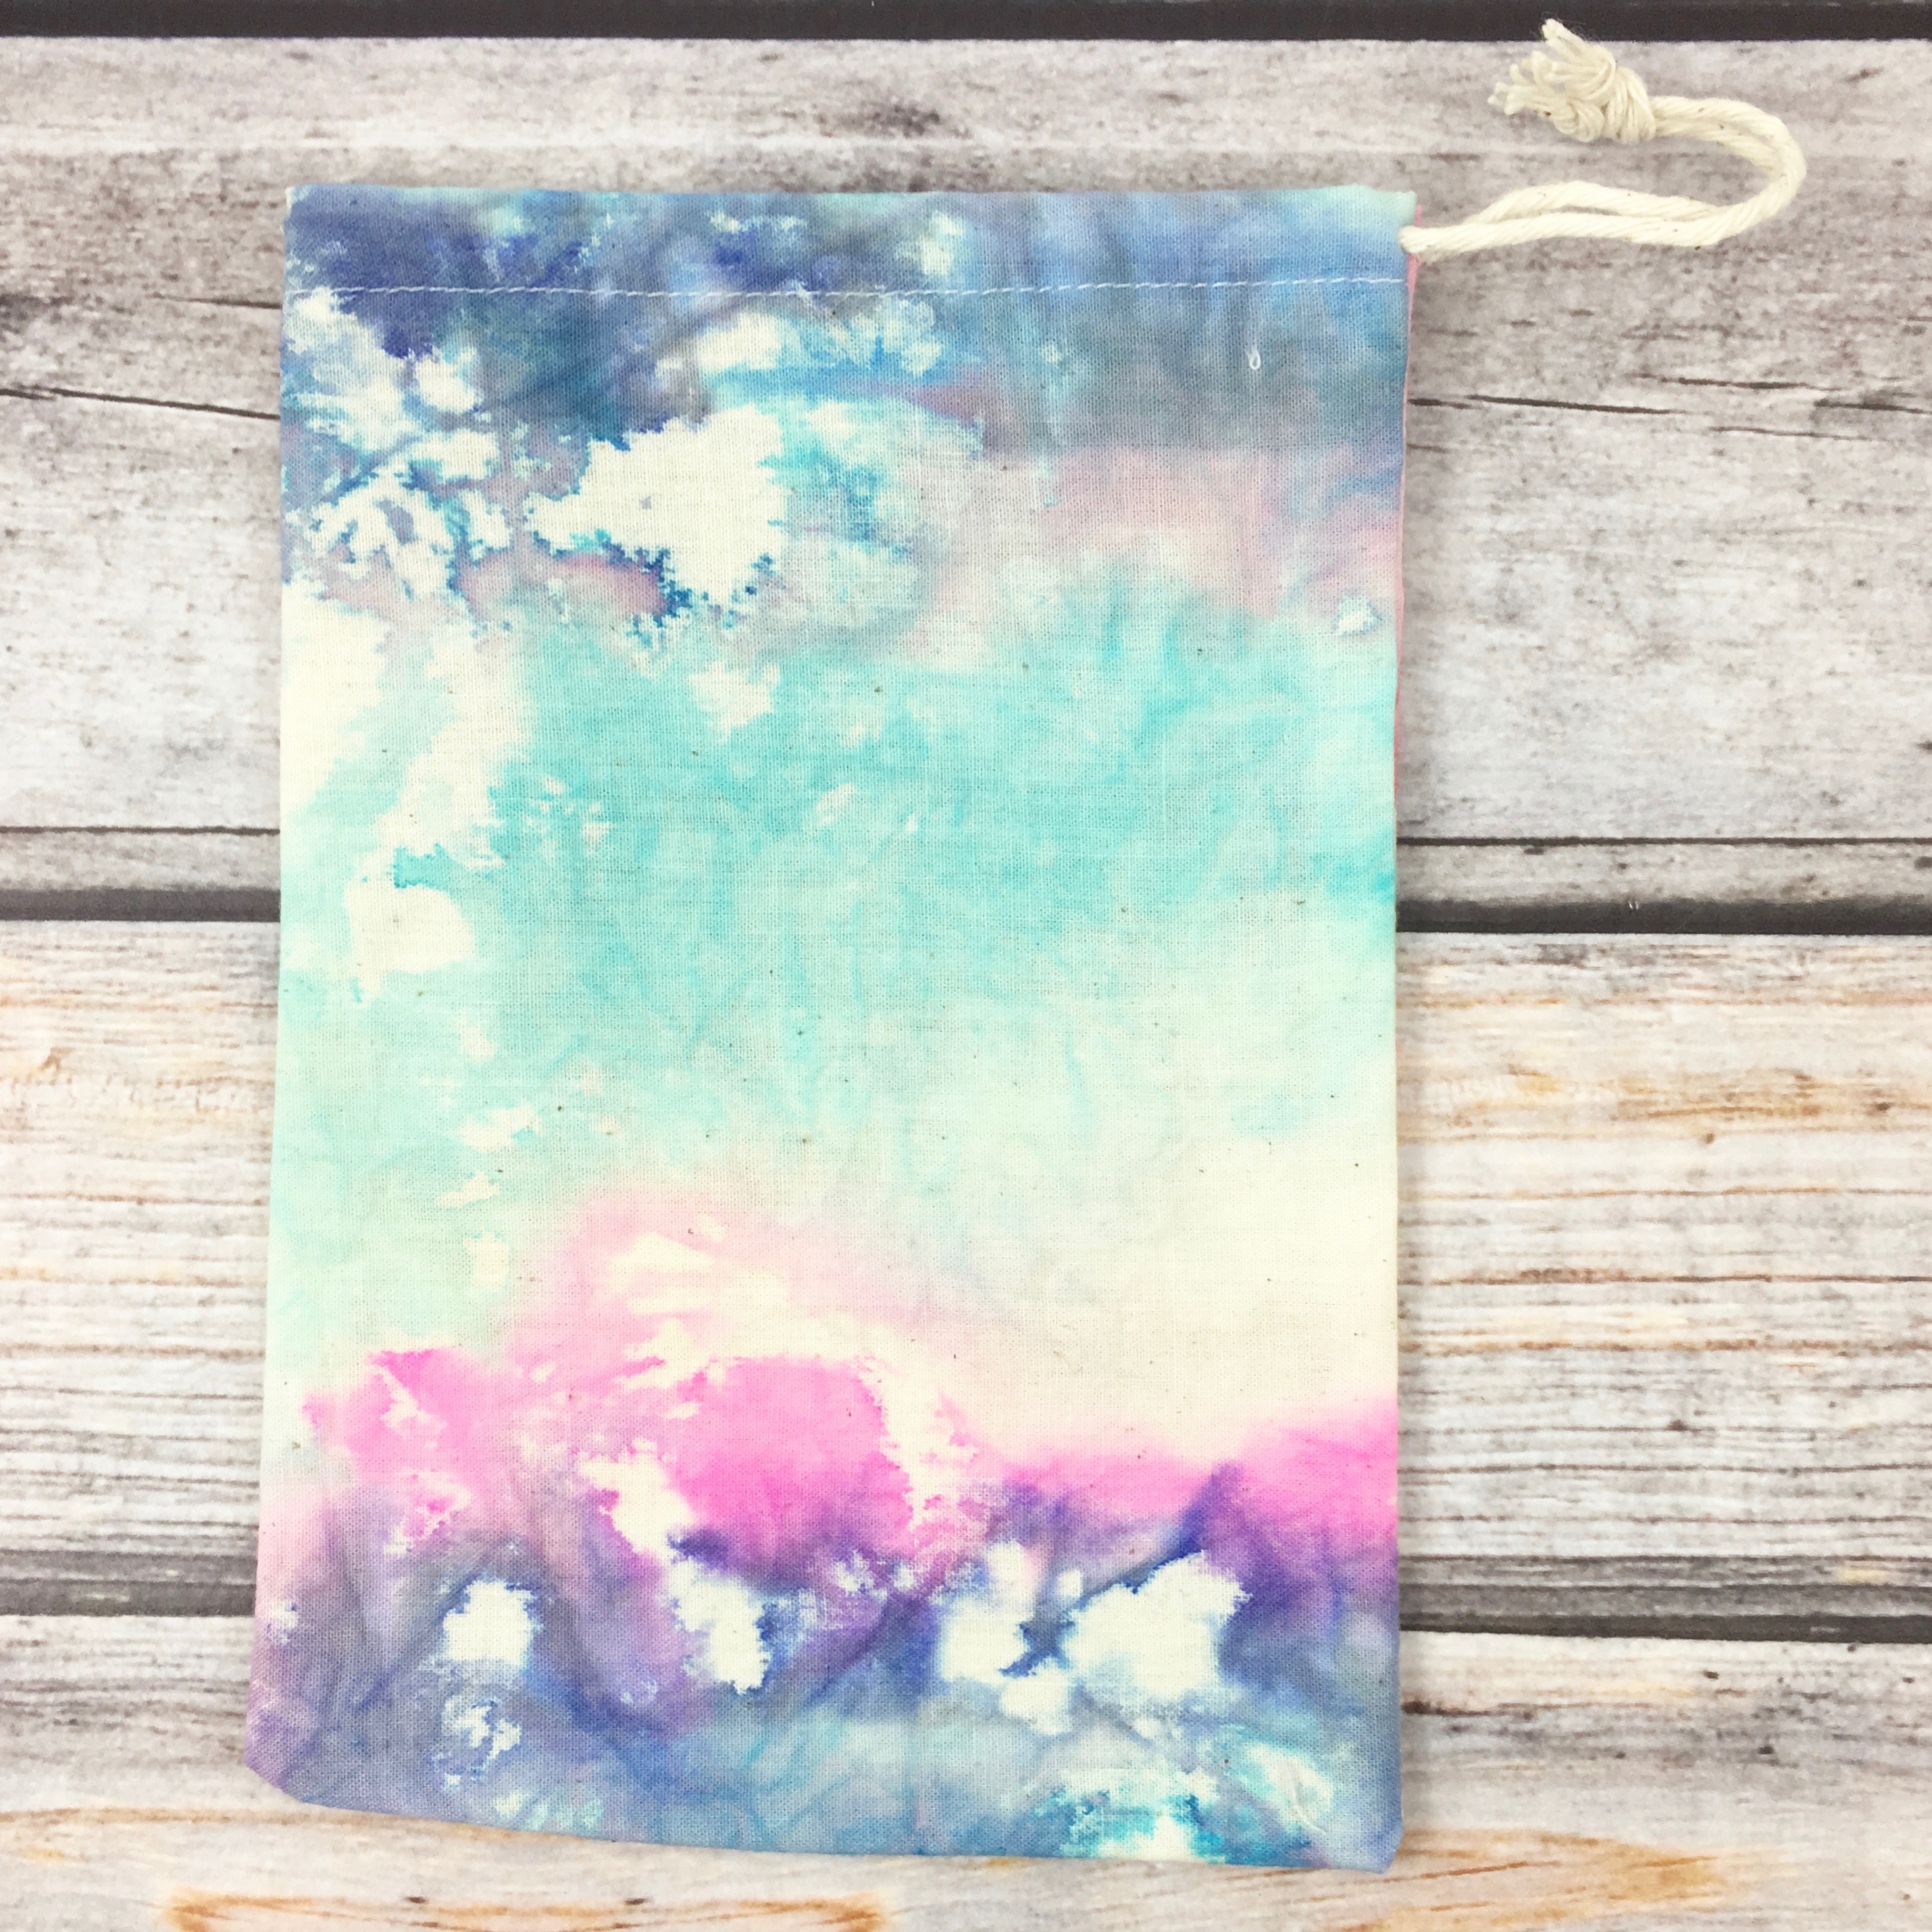
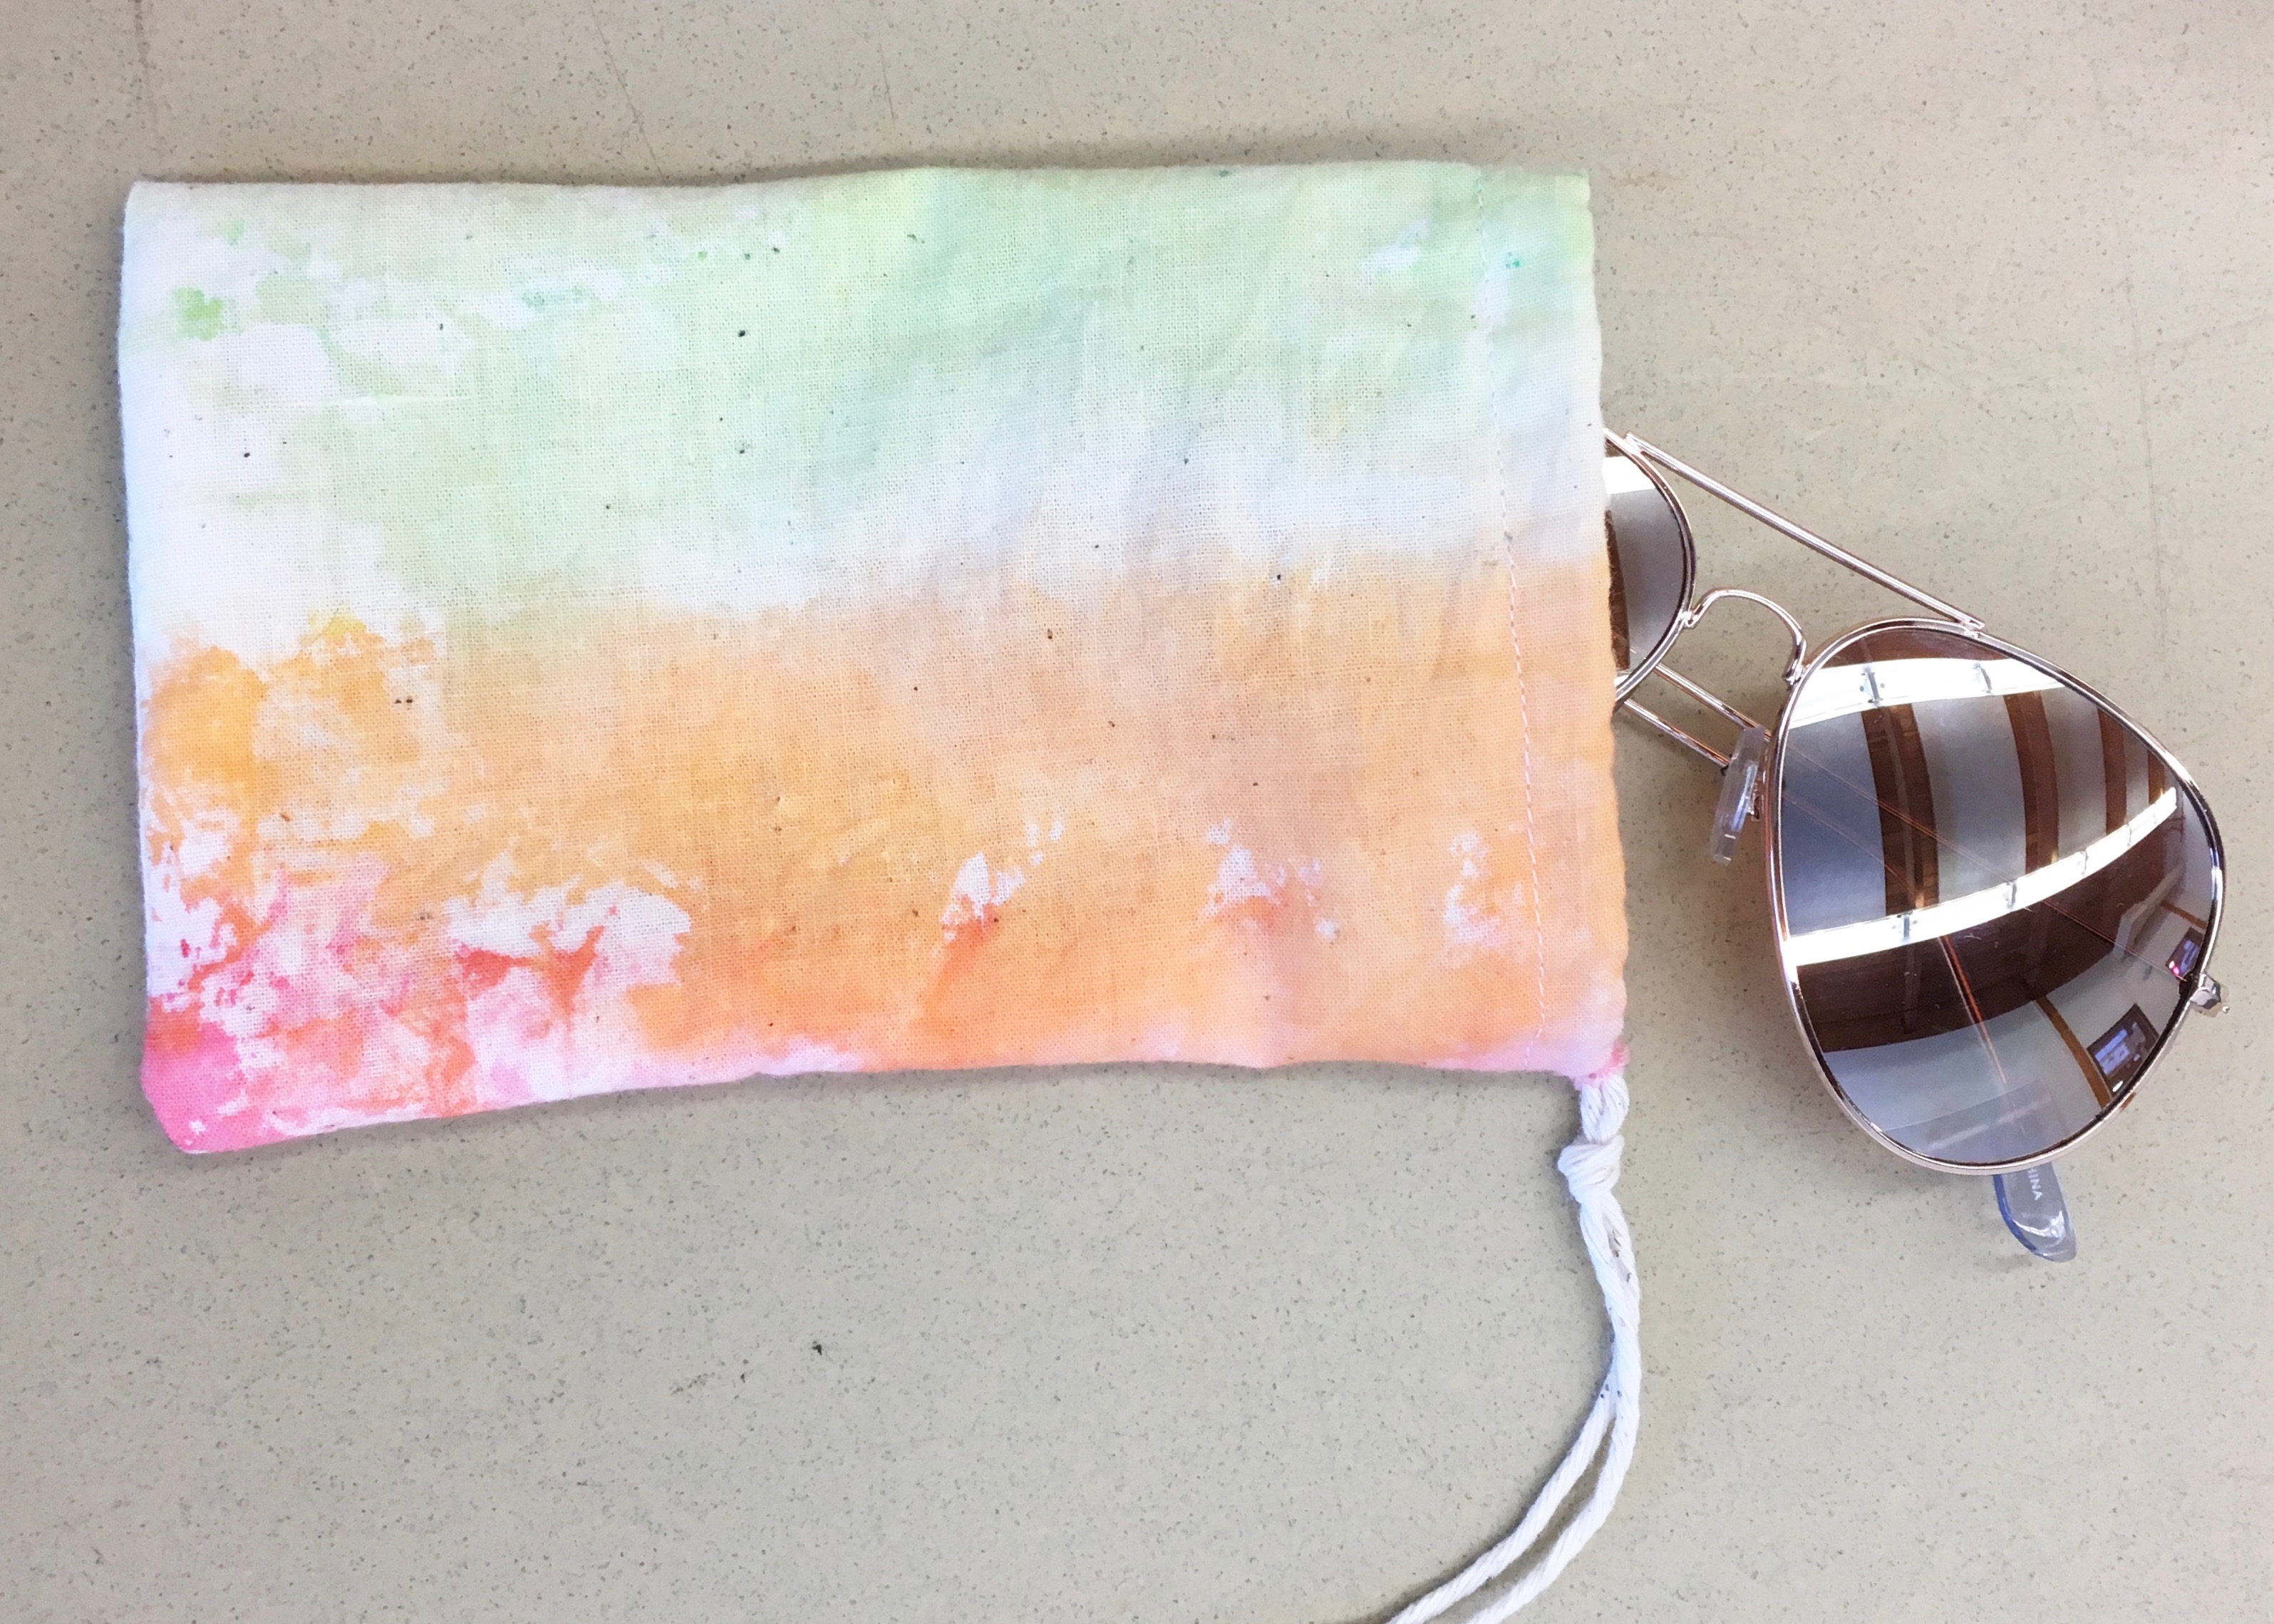
This project combines both a process art experience for toddlers with beautiful, keepsake results.
What you’ll need:
- Bleeding tissue paper in various colors, cut into strips (we used this pack from Lakeshore Learning)
- Trays
- Water
- Paint Brushes
- Natural muslin fabric cut to fit tray
- Bakers twine
- thread
- sewing machine
How we made tissue paper dyed sun-glass case:
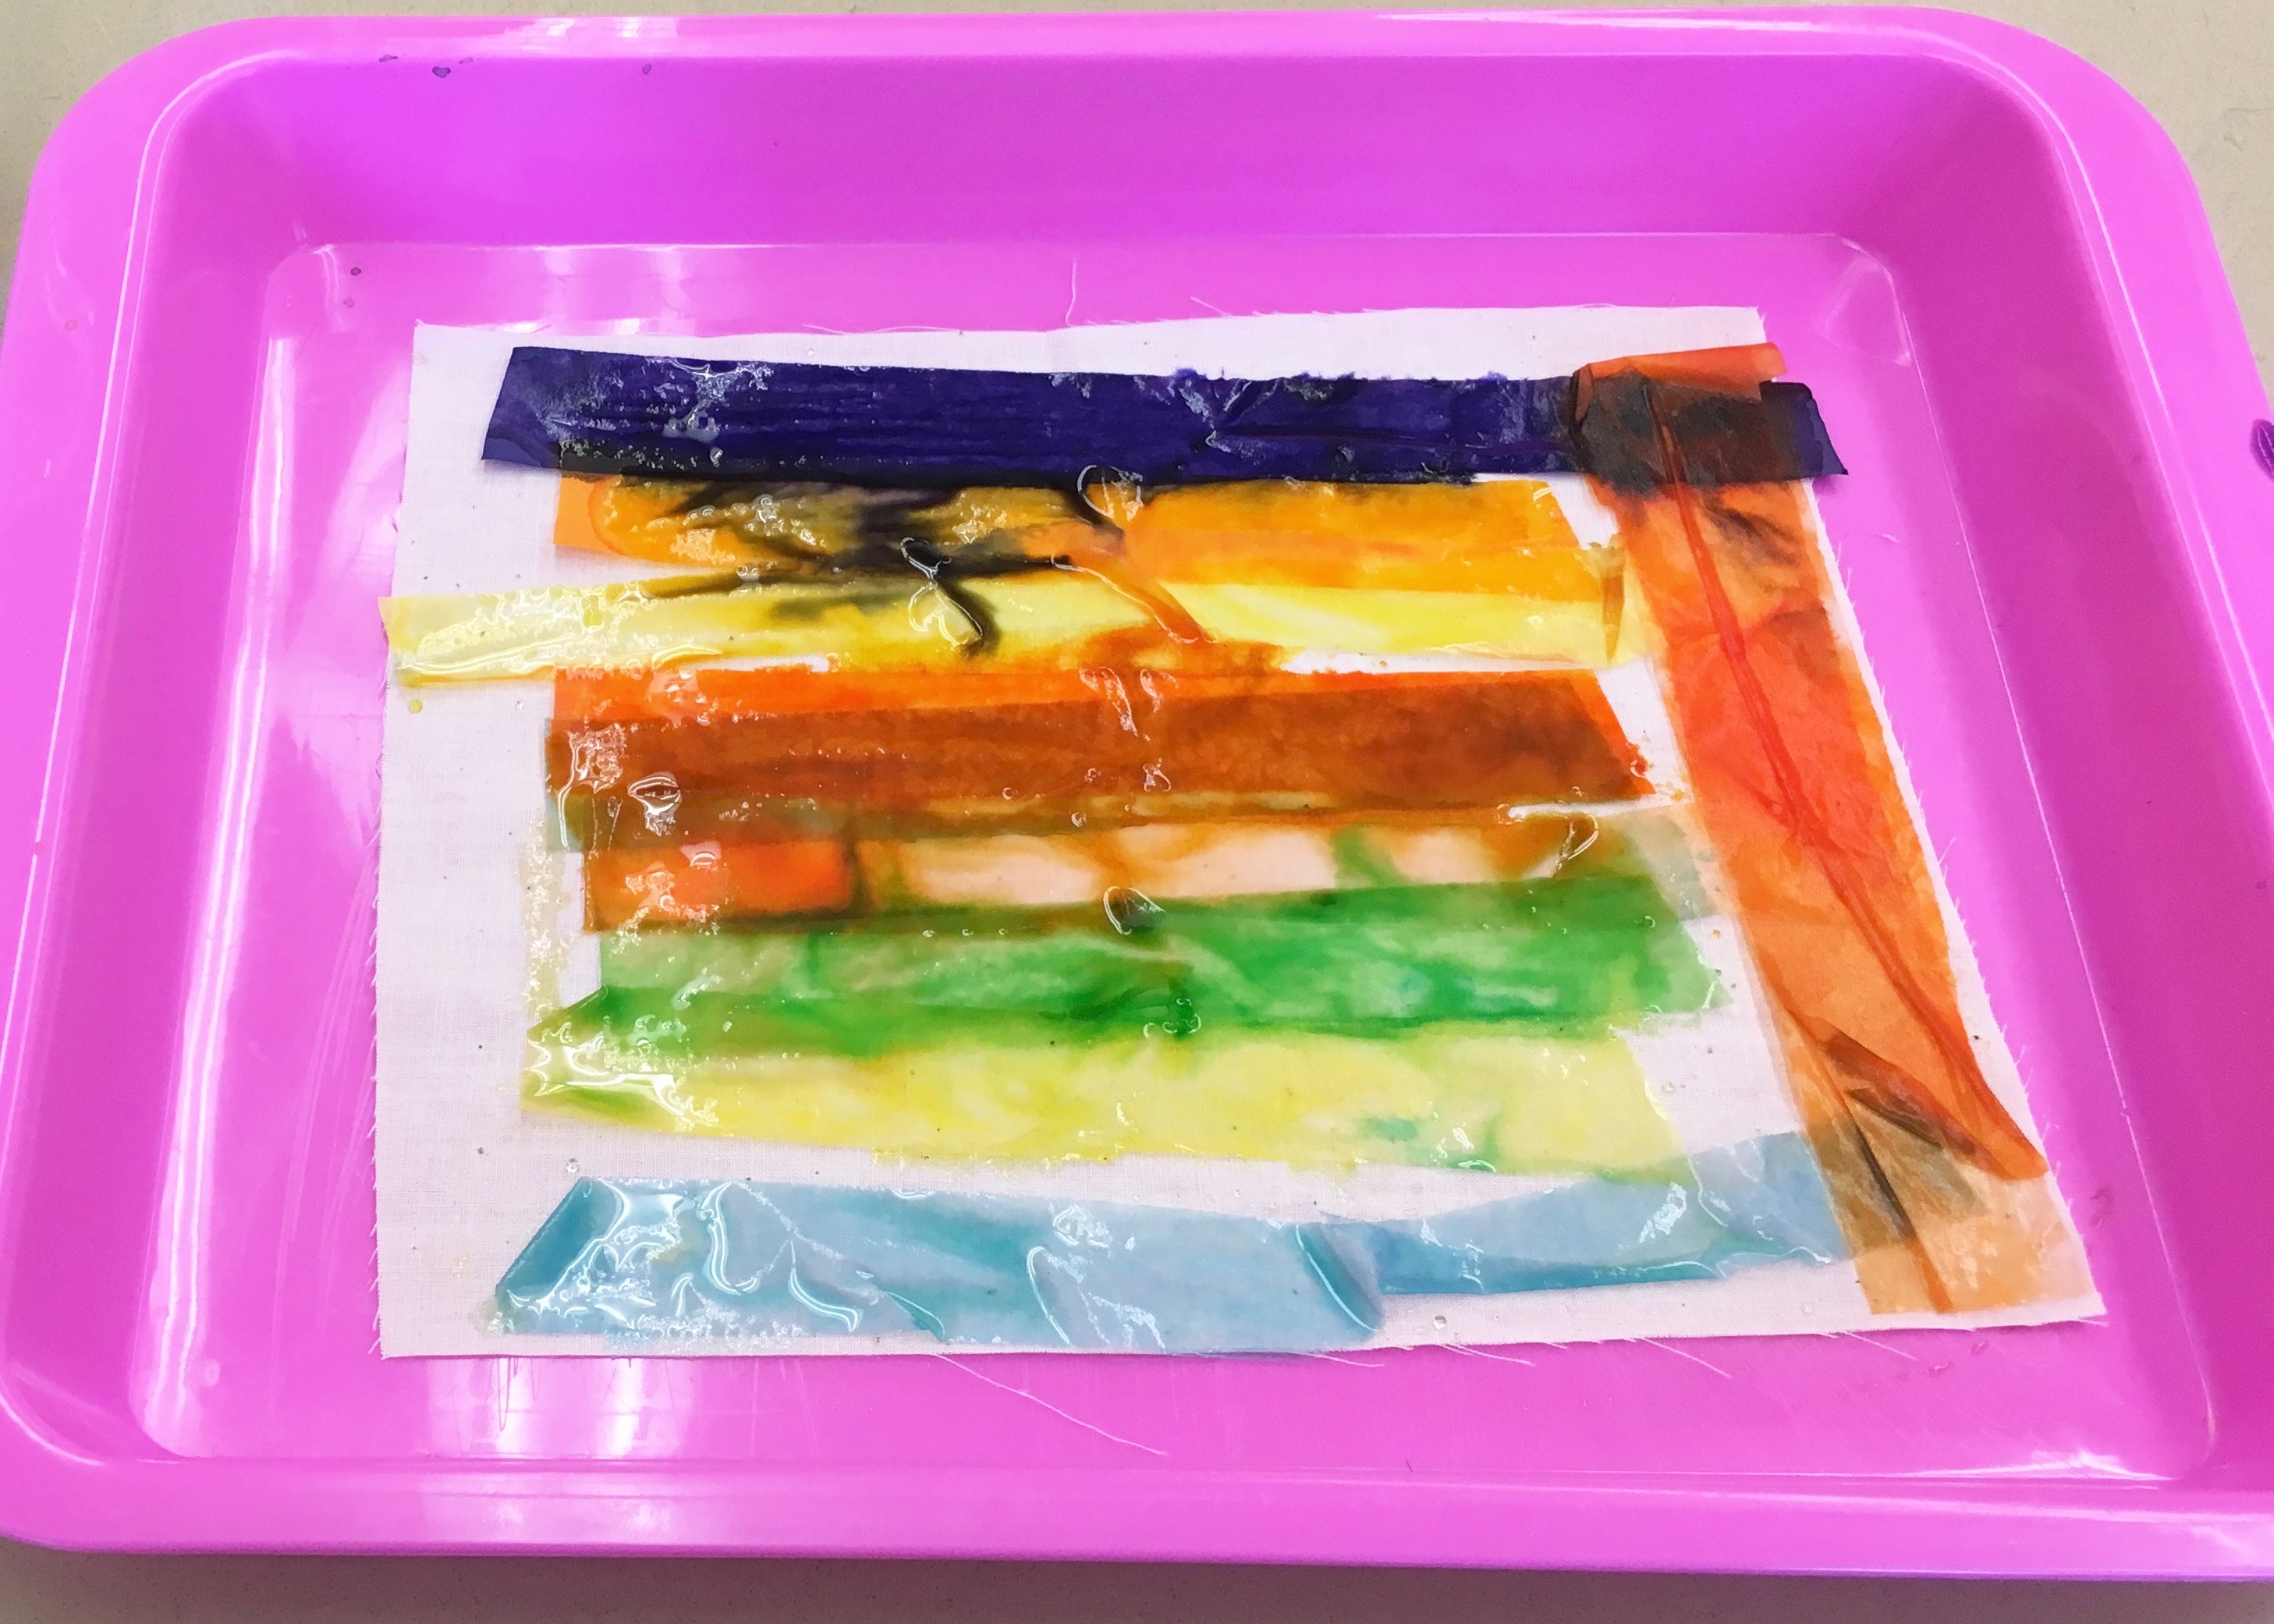
I set out a tray of cut bleeding tissue paper, along with a cup of water, and brushes. Trays are one of my favorite supplies in my art classes because they keep the children’s project contained and gives them their own independent working area.
Invite the children to explore the water and tissue paper, asking that they only take one piece of tissue paper at a time so they save some for their friends. I showed the children how to paint the tissue paper with water, and then let them get to work creating. As they work they can lift the tissue paper to see how the color is transferring onto the fabric. The bleeding tissue paper transfers the color very quickly. Fingers will turn colors, so be prepared for a bit of a mess and stained hands, but I promise the results are worth it!
After the children finished exploring the tissue paper and water on fabric, I removed the trays from the table and set them aside after the class left I removed the tissue paper. Leave the fabric to dry on the plastic tray for the best results. If you dry the fabric on paper (like I did the first time) the paper will pull the color out of the fabric, and your fabric won’t be as vibrant.
You can enjoy the beautiful fabric as is, or turn them into little bags or sunglass cases like we did.
Sewing
Get out your sewing machine after the fabric is dried and create sun-glass cases or little pouches with them.
Once dried fold the top edge under 1/4″ and press. Fold again 1″ and sew to top edge. You can add the bakers twine before sewing this edge. After the top edge is sewn creating a casing for the pull cord, then fold the fabric in half, and sew the bottom and side seam closed, leaving an opening at the top seam for the cord to pull through.


